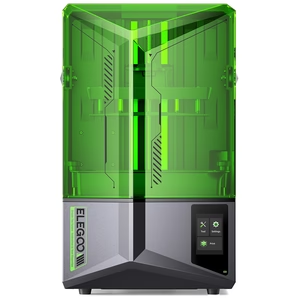
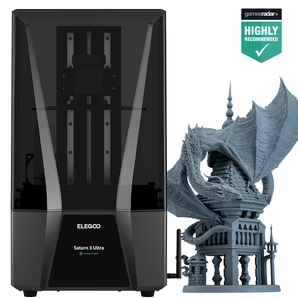
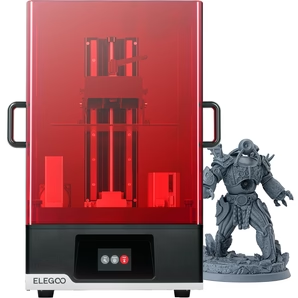
If your SATURN printer needs to replace the Mono LCD Screen, please follow the steps below.
ELEGOO 8.9 INCHES 4K MONO LCD PANEL FOR SATURN 3D PRINTER
Tools you need: 2mm Hex Wrench, 2.5mm Hex Wrench, Double-sided Tapes, Mara Tape, Gloves;
STEPS:
1) Unlock the screws and remove this part of the shell.

2) Unplug the cable of the LCD screen from the motherboard.
3) Remove the 6 screws that lock the upper shell.
4) Then unplug the cables of the motor and the limit switch from the motherboard.
Caution: Please be sure to wear clean gloves in this step in case of contaminating the lens with your handprints.
5) Gently tear off the Mara Tape attached to the edges of the LCD.
6) Disassemble the 4 screws indicated in the picture.

7) Press the LCD screen from the bottom side with your hand to remove it from the machine.
PS: Please check the cable of the screen before installing the new LCD screen and write down the screen model identified by the cable. When it is inconsistent with the model of the old screen, after replacing the screen, you need to update the firmware to the firmware consistent with the new screen to make the printer work normally. Read the firmware guide of Saturn.
8) Remove the older double-sided tape then apply new tape.
9) Tear off the protective film at the back side of the screen.
10) Re-install the new screen, (pass the LCD cable through the slot at the top left of the pocture, make sure the 3 edges of the LCD pointed by the red arrow fits perfectly with the edges of the printer. Then gently press the edges to make the screen tightly stick to the double-sided tape.

11) Choose Mara Tapes with the corresponding length, align with the edges of the LCD then apply them to fix the screen, please try to make it as flat as possible.
Caution: You must NOT peel off the polarizer under the protective film, this will seriously damage the LCD.

12) Re-connect the cables of the motor and the limit switch according to the picture, then tighten the cables with the black plastic cable tie.
Caution: Please be sure to wear clean gloves in this step in case of contaminating the lens with your handprints.

13) Reinstall the upper shell and lock the screws.
14) Re-connect the cable of the LCD screen. Double-check whethet the wires inside will block the light from the lens. If so, please re-organize the cable to avoid affecting printing performance. Then lock the screws. Please refer to the LCD screen cable installation guide here: https://youtu.be/L2H7xN6wYpU
15) Copy the firmware of the new LCD into the USB drive, then print it on the printer. After printing the file, restart the printer, then the new firmware will be installed.
INSTRUCTIONAL VIDEO


